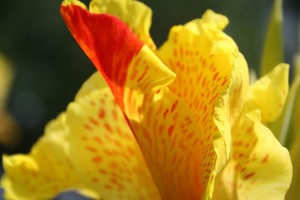
 As a florist you are creating beauty everyday for others to enjoy and to help celebrate moments in their lives. But how often do you get to enjoy and celebrate your own work? Rarely, right? Between filling orders, making last minute rush deliveries, and trying to promote your shop, you are busy trying to run a business. But a passion for beauty got you into this industry so don’t let a hectic workday stop you from documenting your hard work.
Pictures tell your story, record your work, and become the strongest calling card you can have for new business. Photographing your arrangements is hands down the best way to promote your shop. Here is a guide to help you make the most of every arrangement by photographing your orders on the go.
Cameras for Flower Photography
You’ll be surprised to learn that you don’t have to have the best and most expensive camera to take good photos of your flowers. The easiest and most beneficial place to share your photos is online so the images don’t have to be huge. Newer smartphones like the iPhone and many Android devices have excellent built-in cameras and photo aps available. This is a camera is always in your pocket so use it!
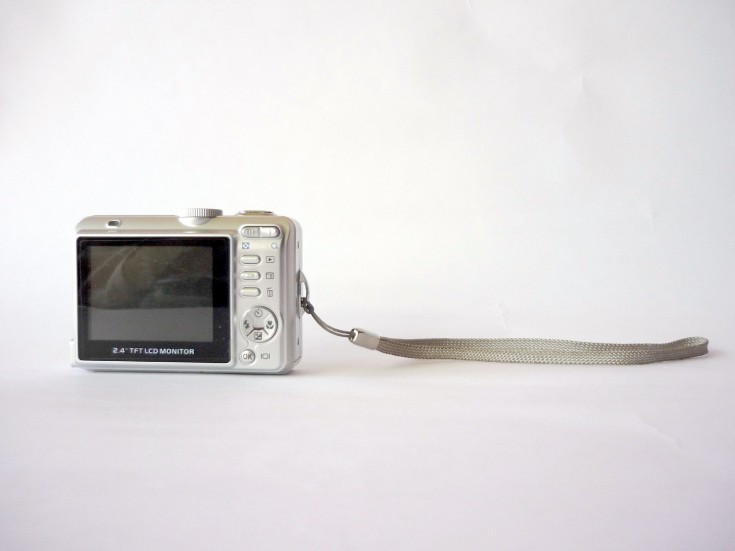 Any general digital camera that takes at least a 5MB picture can meet your needs as well. These cameras are often called “point and shoot” cameras because they offer very basic auto settings and are usually under $100. These cameras do not have a detachable lens or manual settings.
If you are ready to step up your game and have more control, a basic DSLR with lens is around $200 and up. These cameras have various auto settings as well as fully manual settings so you can adjust your focus and exposure yourself.
Consider This…
The goal of taking flower photos yourself is to take images of your work often, so a camera that you will keep with you and can use with ease is key. Think about what you are likely to use most often with the least hassle and start there. Familiarize yourself with whatever camera you decide to use. Actually spend a few minutes thumbing through your manual. Learn how to focus, use the auto settings and turn on/off the flash and date stamp. Mastering these basic tasks will immediately give you results you can see.
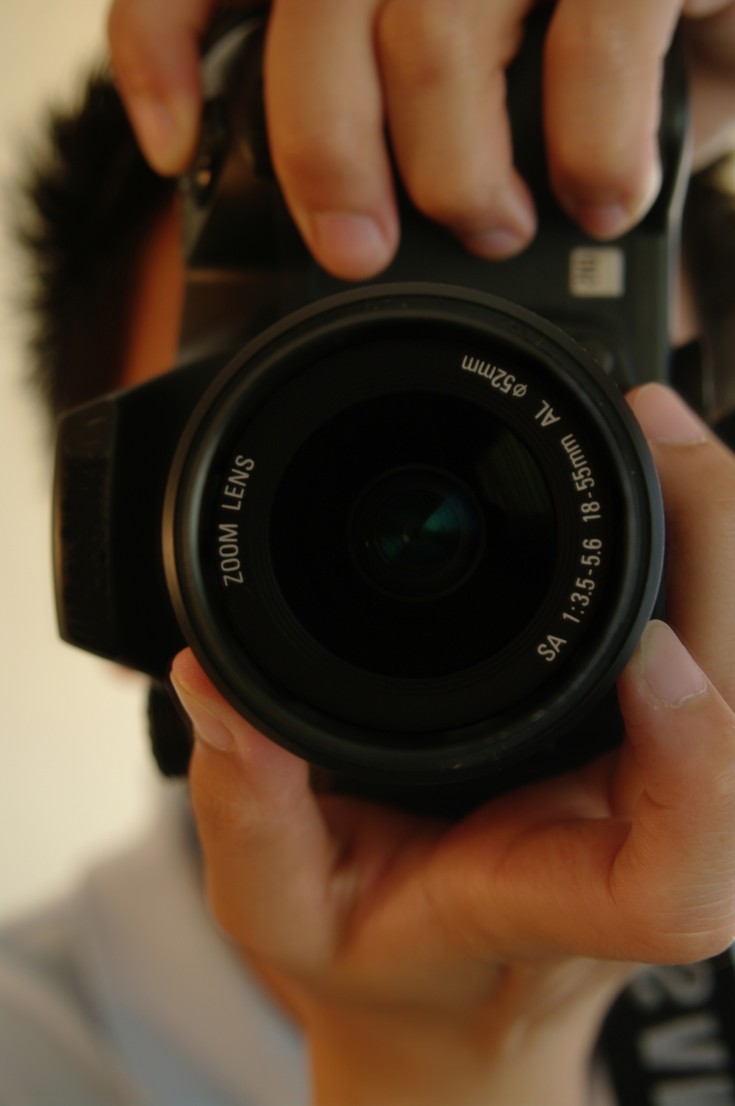 Tips For Photographing Flower Arrangements
- Clean Composition – The easiest way to make your photos look more professional is to pay attention to your composition. Make sure the table and background is free of clutter or distractions. You might even create a special table in the corner of your work room where you can quickly set an arrangement and snap a few shots.
- Focus on Focus – Whether you have a point and shoot or a high-end DSL, learn how to adjust the focus of your photos. For most cameras, autofocus is triggered by half-way holding down the picture button. You might see a box pop up on your screen, this is the focus area of your picture.
Pro tip: If you are using a camera with autofocus, you might notice that it has trouble focusing on a field of solid color, like all white. These cameras typically attempt to focus automatically by looking for contrast. To help the camera know exactly where you want to focus, hold an object of a contrasting color, like a pen, in line with your arrangement. Let the camera autofocus there and remove the object just before taking the photo. - Let There Be Light – Flowers look very different on camera than in person. You’ll notice that without a little extra light, the details of darker color flowers won’t show up or the entire arrangement will look flat. You can help your work look its best by adding some extra light, not using a camera flash or taking photos in natural sunlight when possible.
- Give It A Spin – Sometimes, arrangements look interesting from multiple angles, so take pictures of the front, back, and top! Use an online photo editor or an app on your phone to create a photo that shows these different angles. Creating a collage is just another way to add variety and show off all your creative work.
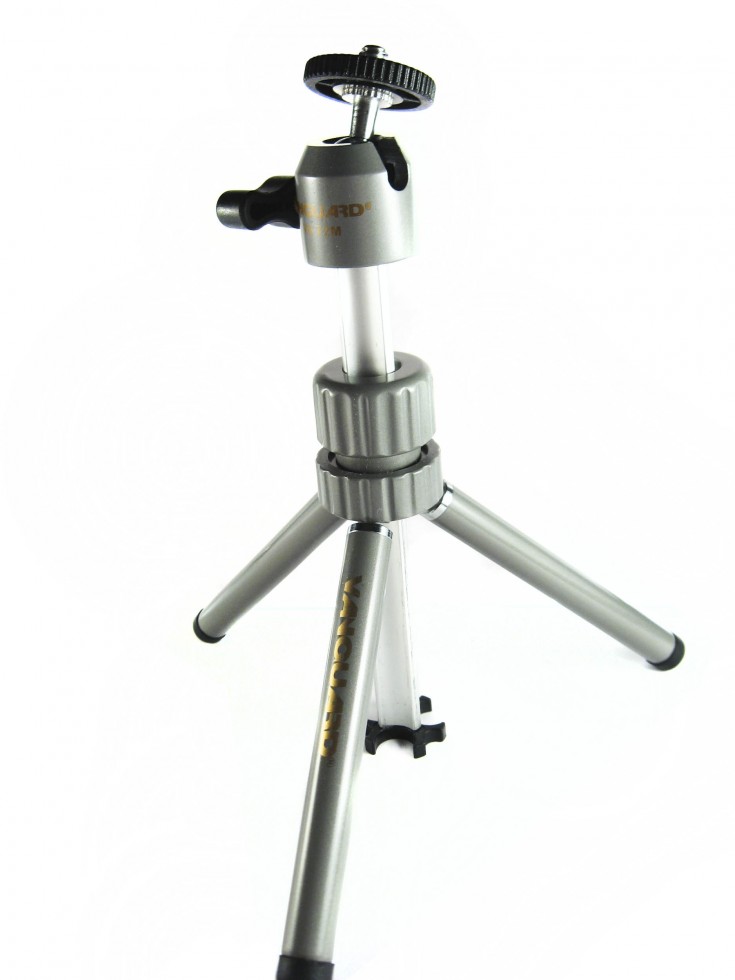 Photo Tools for Florists
Tripod
Blurry pictures are the worse! Always try to take photos in a brightly lit area. If there is not much light or your hands aren’t very steady the camera shake will create disappointing out-of-focus images. If you are shooting on the go and have little available light, having a tripod – even a mini tabletop version – can improve your shots tremendously.
Check out the bottom of your camera for a tripod mount. If there isn’t a small screw-thread on the bottom or you are using a phone, considering getting a special tripod device that grips the camera instead of screwing into it. They are easy to use and will only set you back around $30 or less. That’s a small investment for crystal clear pictures that represent your abilities and craft.
Lights
As we mentioned, try to photograph your arrangements in bright light. The most flattering light is very even to minimize harsh shadows and directed to the front of the arrangement. Early morning or late afternoon sunlight is ideal for soft clean light. Direct sunlight in the middle of the day, you will find very harsh unless you are in the shade and the light is bouncing off of a light colored surface like a white wall.
Unless you have a professional set-up, flash photography is not recommended. An on-camera flash is a harsh light source that creates a flat, often washed out, photo with harsh shadows.
Avoid fluorescent lights that are directly overhead as well. This can cause flowers on top to shadow the rest of the arrangement or cause distracting shadows on the vase or table. If this is your only source of light, try moving the arrangement to an angle where this lights falls on the front of the arrangement instead of right overhead.
If you don’t have a nice window that lets in good light, considering purchasing an inexpensive work light with metal reflector from a home improvement store that you can clamp near any arrangement for a quick photo. Also use a lightbulb for it that is labeled “daylight” as most indoor lights have a warm orange tone that can look unappealing in camera.
Photo Editors
After you have taken some great photos you want to share, you’ll need to edit them. This can be as simple as selecting the best photo of the day and uploading it to your facebook page or cropping and boosting the color and contrast to make your image really pop.
For smartphone users, there are many powerful and totally free aps that are easy photo editors. Read more about how florists can use Instagram here.
One of the most popular professional photo programs, Adobe Photoshop, has a online tool that lets you select a photo from your computer, make basic but very useful edits completely for free. Photoshop Express online photo editor is a great tool you should try out.
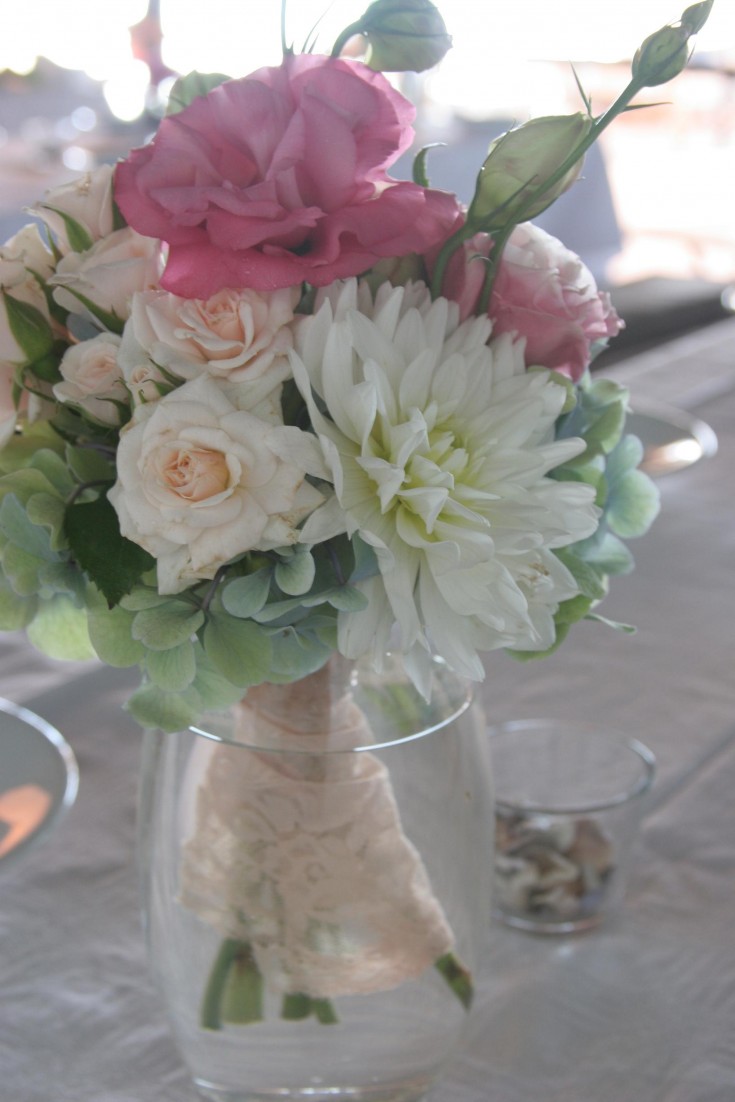 When To Photograph Flowers
The answer is always! Take photos of your special event flowers like wedding bouquets and centerpieces when you deliver them. Also take photos of the everyday arrangements you make. If you get in the habit of photographing your arrangements often then you’ll have a wealth of photos to pick and choose from. And the more pics you snap away and review, the more you will learn about how to take good flowers photos.
When you get new flower varieties in, take a few close-ups and share online with a friendly status update like “Aren’t these roses gorgeous? Can’t wait to start working with these!” Not only can you show off bunches of your freshest flowers but you can brighten the look of your online presence.
When delivering flowers, ask to photograph the recipient with their flowers! Many people don’t like posing for pictures and that’s ok. But having a few happy smiling faces with your flower creations is wonderful for your customers to see and extra exciting for those sending the gift.
Remember that most people look their best turned slightly to their side and not dead-on like the dreaded driver’s license photo set-up. Place the camera slightly above their eye-level. This might mean stepping on a chair if you are shorter than them but have your photo subject look up at the camera to flash their smile. Most people, and your flowers too, look nicest from a slightly higher angle. Photographing people is just like photographing flowers – practice makes perfect!
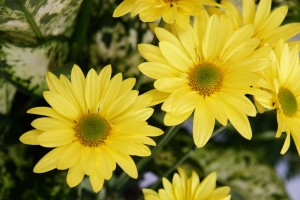 Where To Use Your Flower Photographs
Posting new photos on your website or social media sites will keep your online presence fresh and easier to find by search engines. As mentioned, these photos will be seen the most if you share them on your website or social sites like Facebook and Instagram. Play around with sharing your photos and creating albums for specific events or holidays. Have a folder of wedding flowers, birthday flowers, etc.
Consider printing 4×6 glossy photos at your local print shop to start a flower arrangement photo album. This can act as your portfolio and is great to show customers wanting to know what options you can provide as well as an ice breaker at meetings or conventions you attend.
These photos serve a very different purpose than the professional photos on your website customer use when ordering. Simple snapshots will show your personal creativity and variety of your work. While it might take some time to learn how to take high quality images, the effort will be worth it.
Over time, creating a visual record of your work will
not only help to promote your business
but will deepen your own sense of accomplishment
and show your growth as an floral artist.
For even more photo tips, check out this video by floral artist Robbin Yelverton, AIFD, AAF, CF, PFCI
Or become an FSN member to access our exclusive floral photo tutorials!


 Find Your
Great advice. I knew that I was doing something wrong, but what. You only have to look at my website to see that I was in bad need of this advice. I will be correcting my mistakes, but it will take a little while to get around to them all. Thank you.
Wow, that’s a great tip about the auto-focus! I’ve never been able to get a picture to focus right, I’ll have to try that. This is really helpful to someone who runs a flower shop, thanks a lot for posting!
Lol these days we all need to be top class pro photographers to survive on instagram!